The Beginner's Guide to Whetstone Sharpening
Using dull knives is one of the seven deadly sins of cooking. Seriously. The only time I ever have ever gotten a serious injury in the kitchen is because I used a dull knife to cut a carrot 3 years ago. In this video, I go through all the basics for sharpening on a whetstone and it really comes down to a couple fundamentals, which I discuss in detail below.
When it comes to sharpening on a whetstone (or really any sharpening system for that matter), there are 4 main fundamentals of sharpening that are the key to getting a sharp knife:
Abrasive
Sharpening angle
Burr
Consistency
Abrasive
To actually sharpen a knife, all you are doing is scraping away metal from the knife with an abrasive. Our abrasive is Japanese style whetstones, which have been around for years and years but are now are becoming a lot more popular in home kitchens.
These whetstones come in a variety of grits, for example, I have a 320 grit, 1000 grit, and 5000 grit.
Grit refers to the size of the individual particles of abrasive in the sharpening stone and as you might expect, having different grits means they do different things.
The coarser or lower the grit means the stone will abrade metal faster with more prominent micro serrations or simply put scratches. A finer or higher grit means less prominent micro serrations and a more polished edge with no scratches. which is why these are usually called polishing stones.
In more practical terms, lower grit stones are used for abrading metal to repair minor chips, medium grit stones are all purpose used to sharpen and establish the edge, and high grit stones are used to polish the edge.
Now there's some conflicting opinions about what ranges make up coarse, medium, and fine for Japanese style whetstones, but In an edge in the Kitchen by Chad Ward, he suggests that anything below 800 grit is coarse, 800-2000 grit are medium to medium-fine, and anything above 2000 is fine or a polishing stone.
In the demonstration I do in the video, I only use my 1000 grit for sharpening and 5000 grit for polishing, as this is the most typical example for most home cooks looking to learn how to sharpen.
Sharpening Angle
To add to my sentence from the previous section, to sharpen a knife you are scraping away metal from the knife with an abrasive at an angle.
So if you look at a typical double bevel knife, the edge is made of two angles that meet in the middle. This is set by the person or manufacturer who made your knife which is usually somewhere between 15-25 degrees on one side. The lower the degree, the sharper the edge.
So do you need to figure out the specific degree of the chef knife you want to sharpen? Not at all, this is something that I feel is completely over thought by beginners. For this case, we are trying to match the edge angle set by the manufacturer.
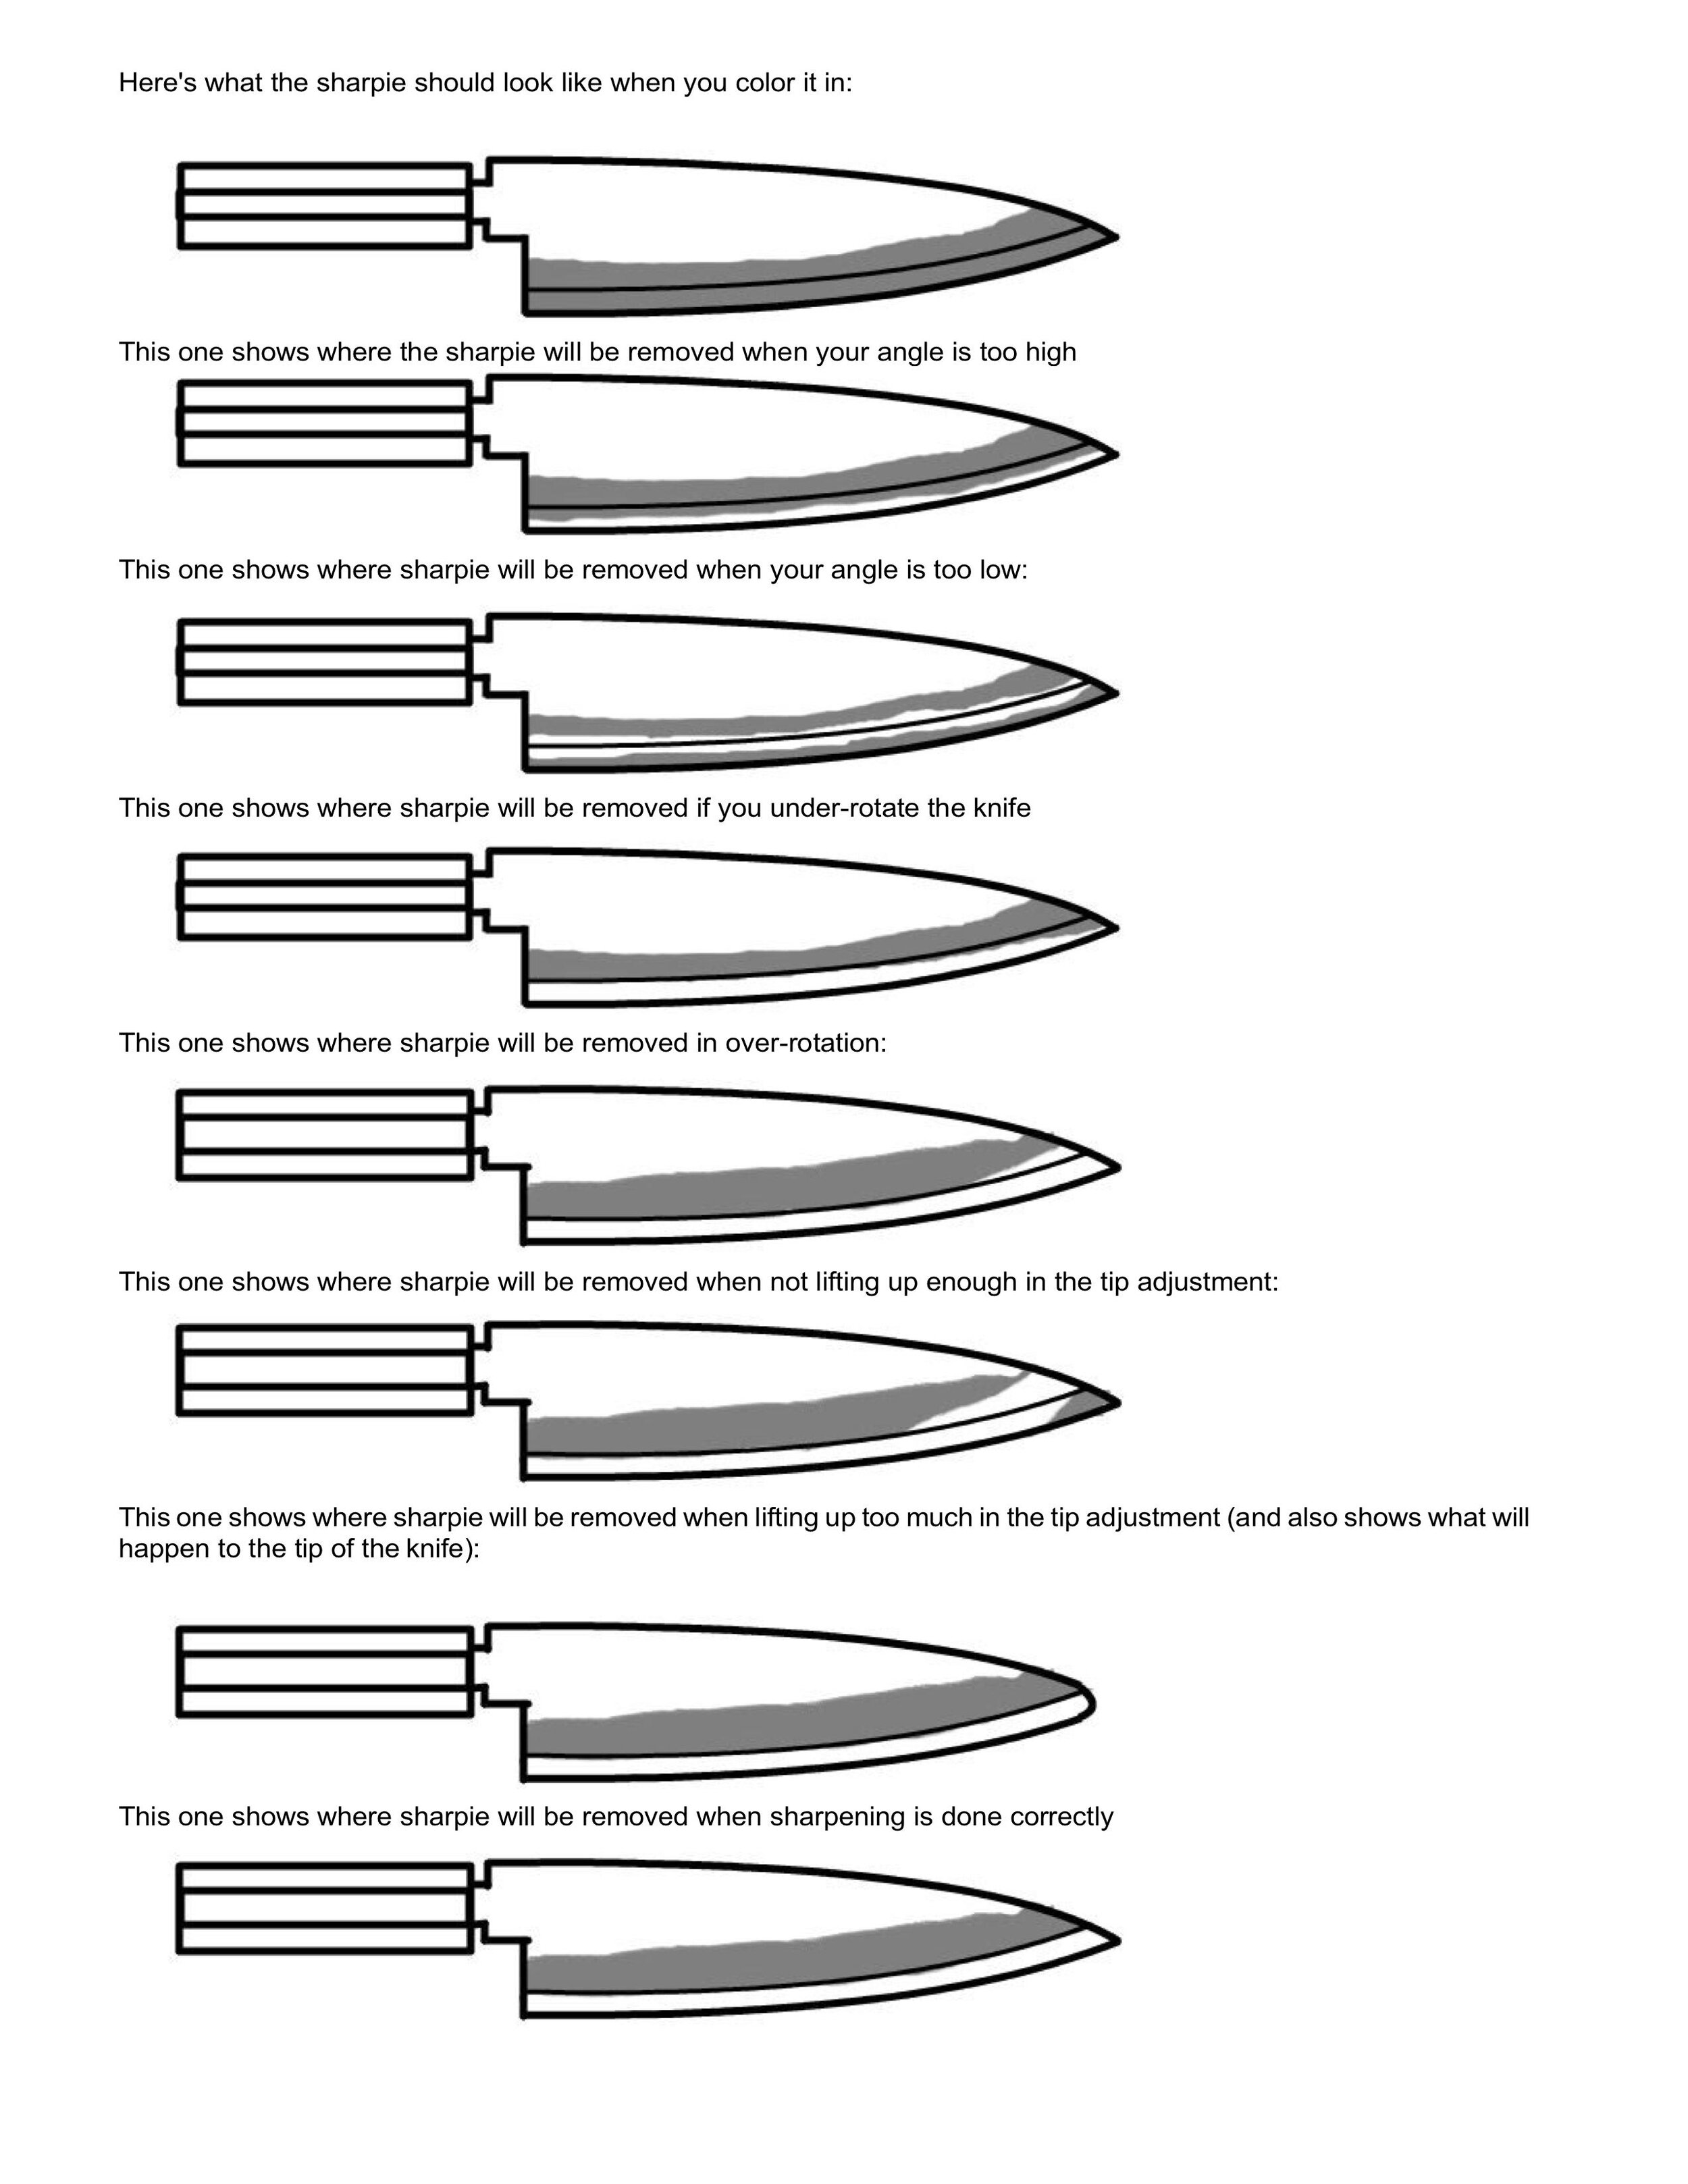
In the video, I use the “magic marker” trick to get feedback on where on the blade I am actually sharpening. Here is a great chart from Japanese Knife Imports showing the feedback examples:
Credit: Japanese Knife Imports
The Burr
To explain the burr, I think it helps to understand why knives get dull. The job of the edge of a knife is to concentrate lots of pressure to cut, naturally, this can cause the edge to roll, flatten and indent.
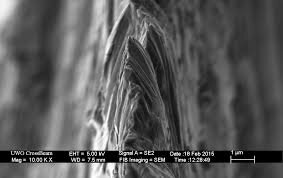
At a microscopic level, this looks like little jagged bits of metal, and it makes sense why that knife does cut so well.
Credit: Science of Sharp
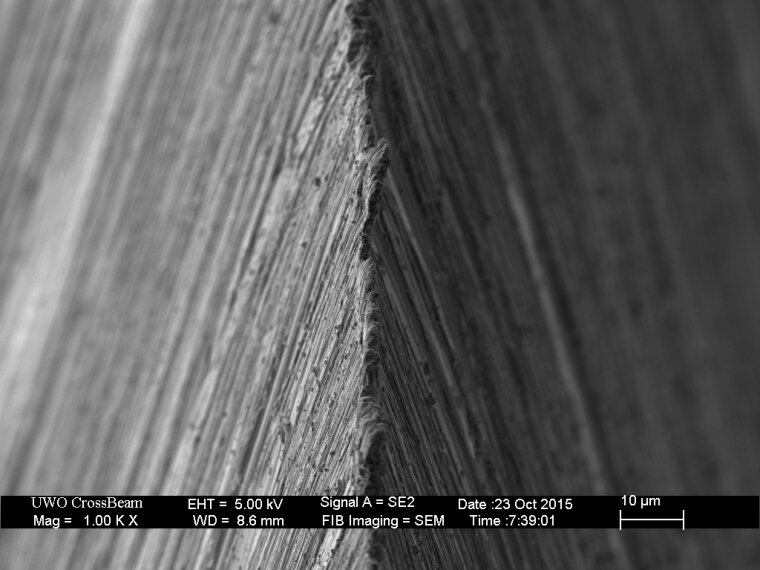
So to start to remedy that microscopic jagged edge, we need to create a burr which is a raised lip of metal that forms when one side of the edge meets the other while sharpening. You likely won’t be able to see the burr, but you can feel it with the pad of your thumb or feel it catch your thumbnail.
Microscopic burr of overhanging metal. Credit: Science of Sharp
To create the burr, we sharpen side A of the knife until it meets side B and creates the curl of metal along the entire edge. Then to make sure the knife wears consistently we sharpen side B until that metal curls back over and you basically continue that process until the burr is gone.
For the burr, you can kind of imagine a paper clip how when you bend it back and forth it eventually weakens and breaks. That's kind of the idea with the burr, we push it back and forth which weakens it and gets rid of it leaving us with the perfect edge.
Consistency
The last key to sharpening is consistency.
We need to be consistent in the angle we are sharpening the knife throughout. We need to make sure the burr is consistent in the size formed on one side before sharpening the other.
The great thing about being a beginner is that you are not going to be consistent when you start. It takes time to get better at it, and even though it may not be perfect the first time you try sharpening on a whetstone you can get a really sharp edge the 1st time you try it and it's a lot of fun.
Check the video for a full end to end sharpening of a gyuto chef’s knife. Thanks for reading.


